Add a Routing Group
Before adding a rule, you must add a Routing Group. Routing Groups help present rules in the GUI in an organized fashion, enhancing user experience. Routing Groups also allow you to move a group of Routing Rules, collectively changing their routing priority.
| ➢ | To add a Routing Group: |
| 1. | In the Routing Groups page (Routing > Routing Groups) shown previously, click the Add Group + icon above the left window in the page. (In the right window in the page you'll later add Routing Rules). |
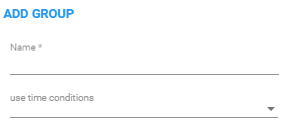
| 2. | Define a name for the Routing Group to be added. Define a user-friendly name to facilitate intuitive management by administrators. Some example of groups you can add are 'Restricted Calls', 'Calls to Europe', 'Calls to Far East', 'Calls to ROW', etc. |
The routing group's name must be distinct from names of other routing group names, and must be between 1-255 characters.
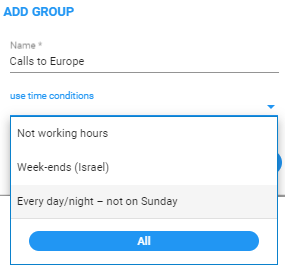
| 3. | From the drop-down, select the use time conditions option to attach a time condition to the Routing Group. See Configure a Time-Based Routing Condition for related information on how to attach a time condition to a Routing Rule. You can attach multiple time conditions. These conditions will apply to all rules in the group. |
Add Group with Time Condition
| 4. | Click OK; the new Routing Group is added to the list of groups in the Routing Groups page. If you attached a time condition to the group, it's visually indicated (see the calendar icon): |
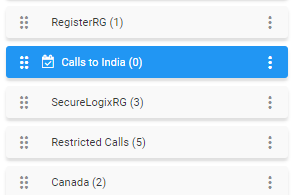
Routing Groups listed higher take precedence over those lower. Routing Groups in the list can be reordered (see Move a Routing Group). Priority is calculated internally, based on Previous and Next groups.